Confluent Cloud Schema Registry is Now Generally Available
We are excited to announce the release of Confluent Cloud Schema Registry in general availability (GA), available in Confluent Cloud, our fully managed event streaming service based on Apache Kafka®. Before we dive into Confluent Cloud Schema Registry, let’s recap what Confluent Schema Registry is and does.
Confluent Schema Registry provides a serving layer for your metadata and a RESTful interface for storing and retrieving Avro schemas. It stores a versioned history of all schemas based on a specified subject name strategy, offers multiple compatibility settings, and allows schemas to evolve according to the configured compatibility settings and expanded Avro support. Schema Registry provides serializers that plug into Apache Kafka clients, which handle schema storage and retrieval of Kafka messages sent in Avro format.
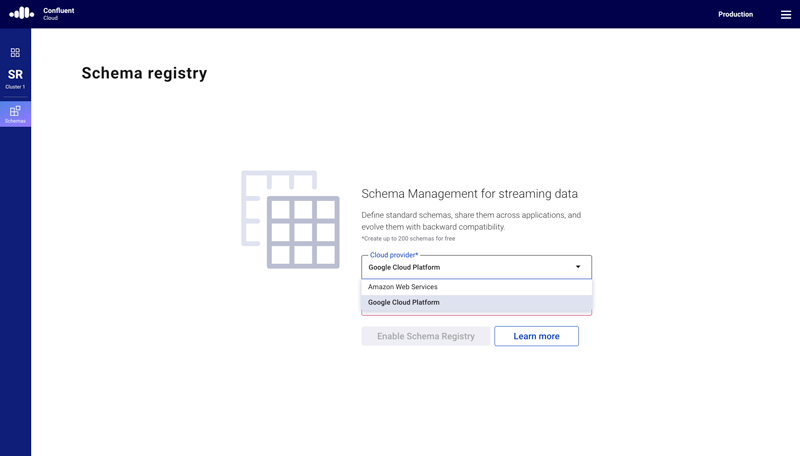
Up until now, you need to manage your own Confluent Schema Registry in order to get the benefits mentioned above. This is no longer the case. Confluent Cloud Schema Registry in GA comes with production-level support and SLA to ensure that enterprises run mission-critical applications with proper data governance. It also gives you the option to run Schema Registry in AWS or GCP with your selection of the U.S., Europe, and APAC regions.
Since it was launched in March 2019, a lot of customers have used Confluent Cloud Schema Registry to manage schemas for upstream applications. More specifically, we have seen a 7x increase of schema versions over the last three months.
Because of the benefits of schemas, contracts between services, and compatibility checking for schema evolution while using Kafka, it is highly recommended that any Kafka user should set up and use Schema Registry from the get-go. However, setting up Schema Registry instances properly can be challenging, as Yeva Byzek explained in a previous blog post outlining 17 common mistakes made by operators.
Confluent Cloud Schema Registry addresses each of these mistakes and removes the operational burden. One distinctive difference between a self-managed Schema Registry and Confluent Cloud Schema Registry is whether schemas are stored. When you run self-managed Schema Registry instances, an internal Kafka topic (kafkastore.topic=_schema) stores the schemas in your Kafka cluster. In contrast, Confluent Cloud Schema Registry is backed by Confluent-managed Kafka clusters, where schemas are stored. This difference helps address mistake #5 specifically.
As mistake #5 mentions, all Schema Registry instances must have the same configuration (kafkastore.topic=) to prevent the creation of different schemas with the same ID. Time to time, we have heard customers accidentally delete this internal topic, stopping producers from producing data with new schemas since Schema Registry would not be able to register new schemas. Confluent Cloud Schema Registry prevents this accident as you cannot delete schema topic unless you explicitly remove an environment where Confluent Cloud Schema Registry is enabled. The common mistakes you could make with self-managed Schema Registry will become a “back in the day when I managed Schema Registry instances” story.
Get started in five steps
Perhaps you’re wondering, “OK, I’m convinced, but how can I start using Confluent Cloud Schema Registry?” It is very simple and free. When you select an environment, you will see “Schema Registry” below “Cluster.” Once you click on “Schemas,” you can select a cloud provider and a region. Now you have Confluent Cloud Schema Registry!
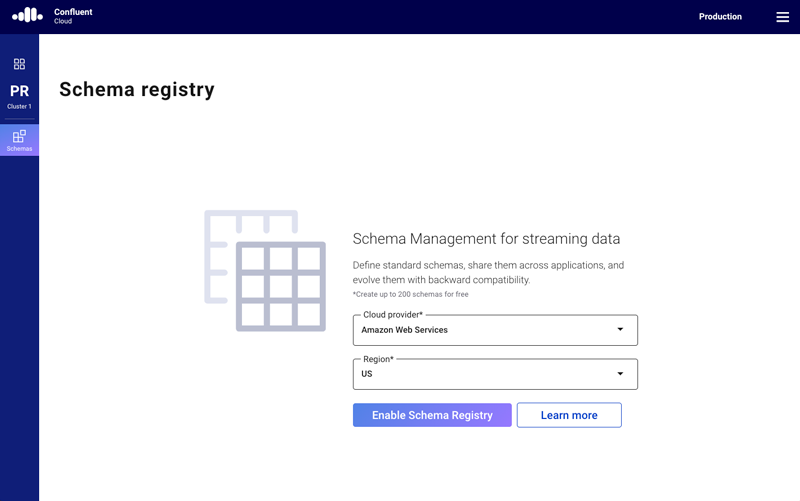
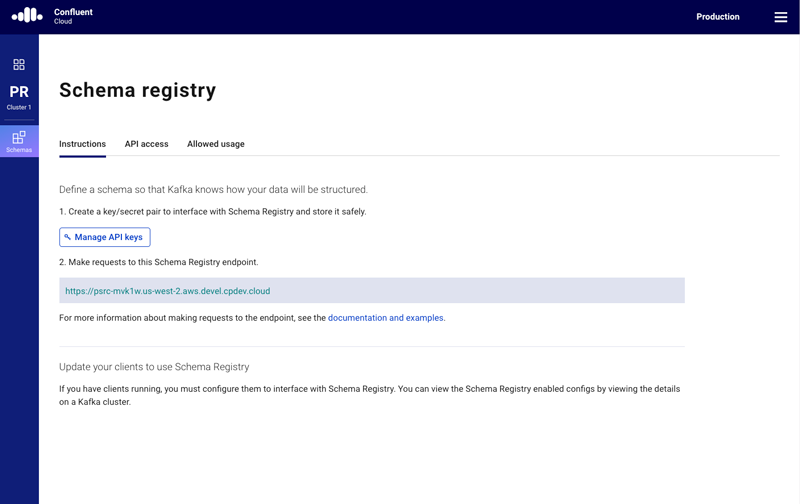
You can create your first schema in Confluent Cloud Schema Registry by using the Confluent CLI on your local machine.
Step 1
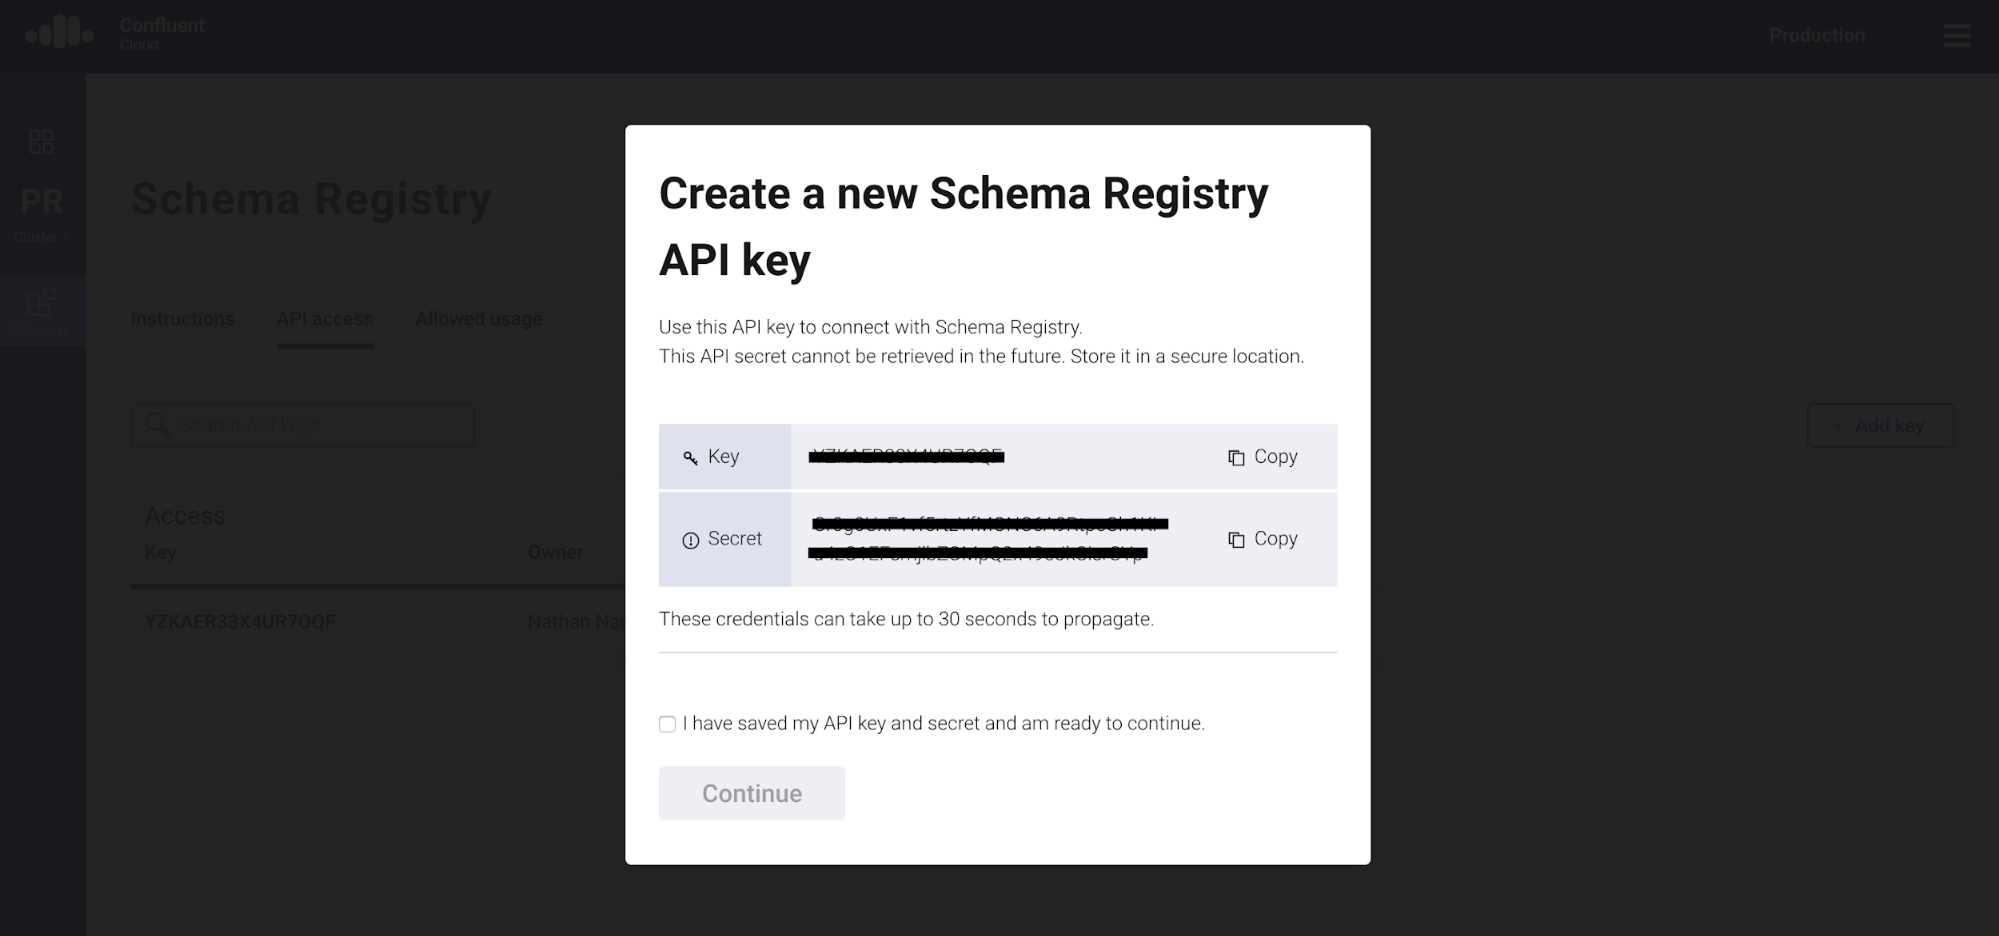
Let’s create an API key for your Schema Registry by clicking on “Create key” on the API access page. Store the API key and secret.
Step 2
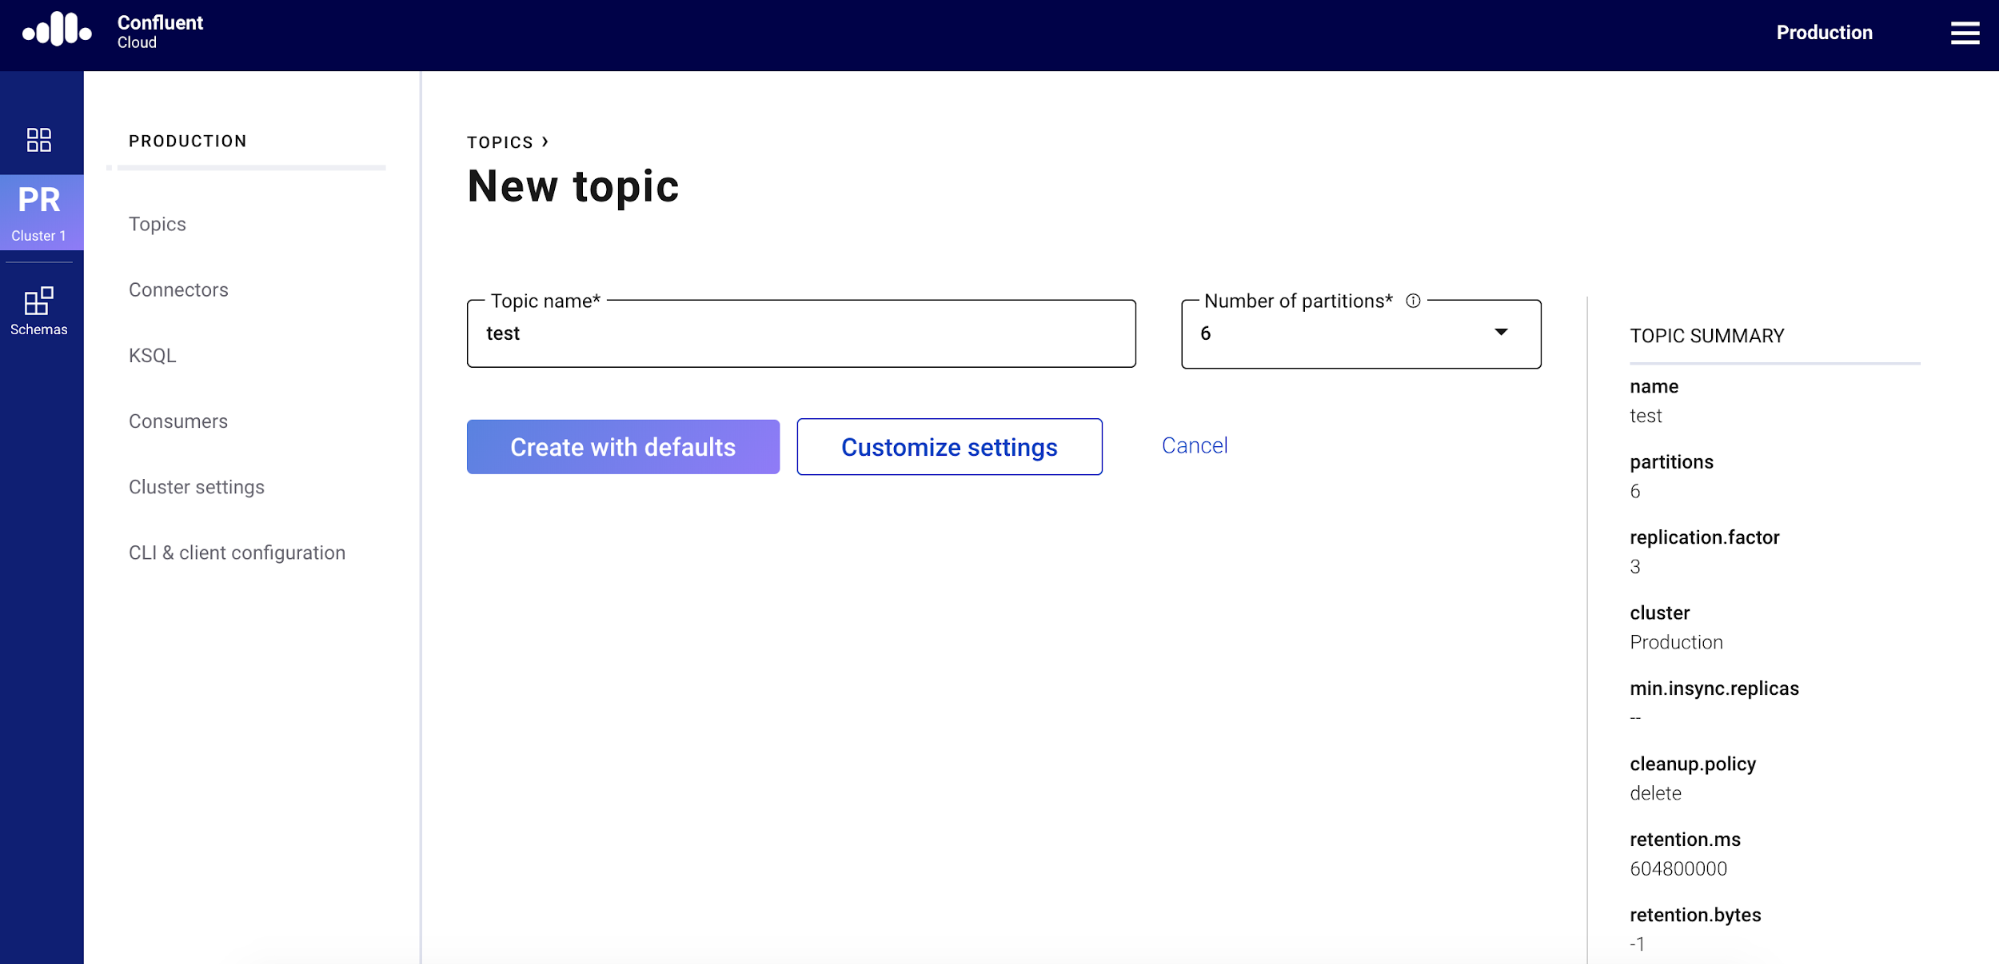
Create a topic called test on the topics page.
Step 3
Download the Confluent Cloud CLI. If you already have the Confluent Cloud CLI, please make sure you have the latest version (v0.170) by using ccloud update:
$ curl -L https://cnfl.io/ccloud-cli | sh -s -- -b /<path-to-directory>/bin
Step 4
Log into Confluent Cloud and select an environment where you enabled Schema Registry:
$ ccloud login
Enter your Confluent credentials:
Email:
Password:

Using environment t182 ("default")

$ ccloud environment list
    t182  | default
    t6680 | Development
    t6734 | Production

$ ccloud environment use t6734
Now using t6734 as the default (active) environment.
Step 5
Create a schema with the following JSON file (employee.json):
{
   "type" : "record",
   "namespace" : "Example",
   "name" : "Employee",
   "fields" : [
      { "name" : "Name" , "type" : "string" },
      { "name" : "Age" , "type" : "int" }
   ]
}

$ ccloud schema-registry schema create --subject test-value --schema employee.json
Enter your Schema Registry API Key:
xxxx
Enter your Schema Registry API Secret:
xxxxyyyyzzzz
Successfully registered schema with ID: 100001
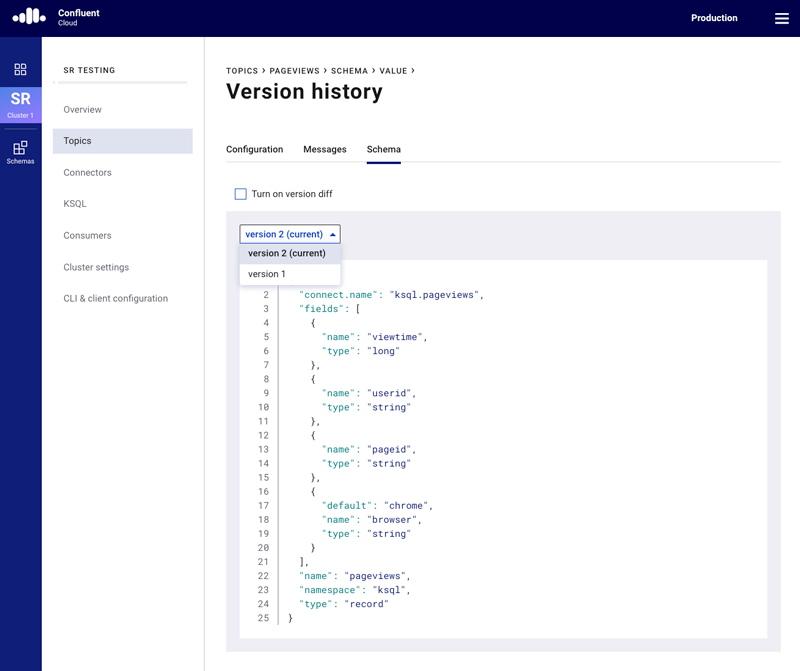
After you complete these five steps, you will be able to see the following schema for the test topic in the “Topics” menu.
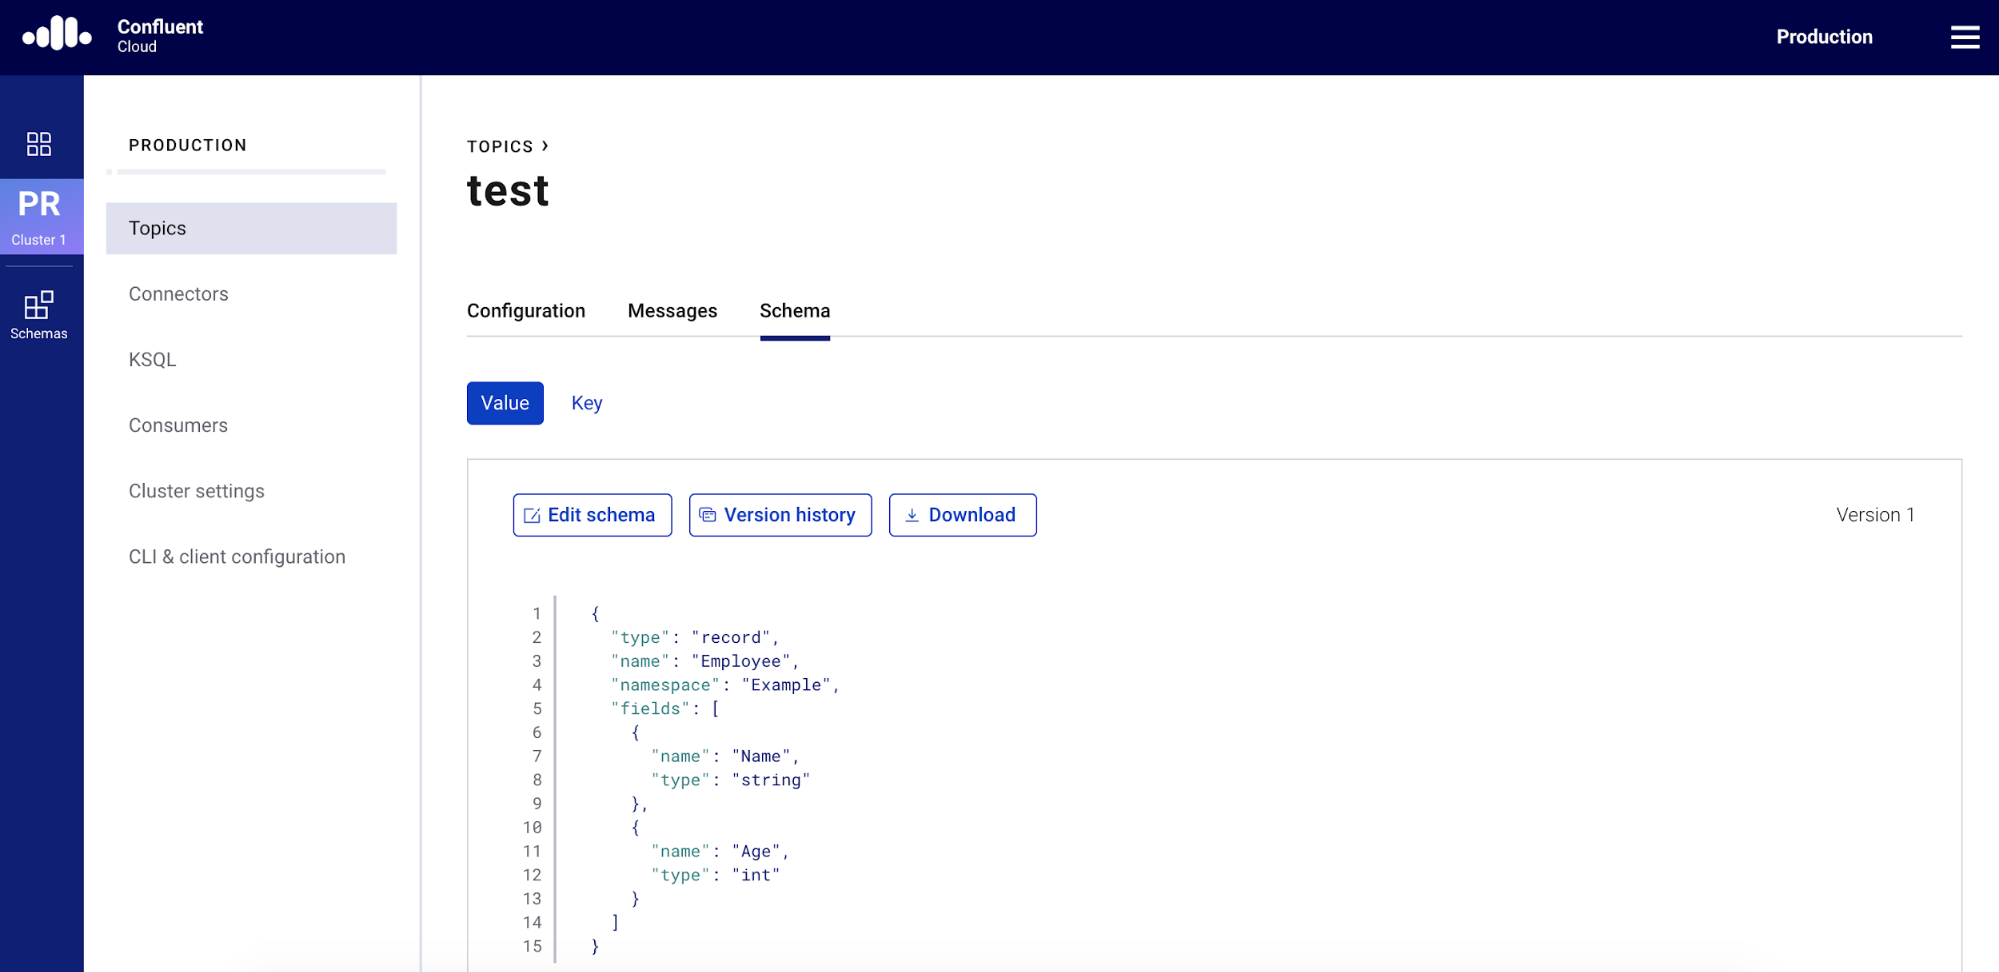
And there you have it! You have a new schema (test-value) for the test topic in Confluent Cloud Schema Registry.
Learn more
If you haven’t tried it yet, check out Confluent Cloud, a fully managed event streaming service based on Apache Kafka, and Confluent Cloud Schema Registry. You can enjoy benefits of schemas, contracts between services, and compatibility checking for schema evolution while using Kafka without any operational burdens.
Other articles in this series
Ist dieser Blog-Beitrag interessant? Jetzt teilen
Confluent-Blog abonnieren
New With Confluent Platform 8.0: Stream Securely, Monitor Easily, and Scale Endlessly
This blog announces the general availability (GA) of Confluent Platform 8.0 and its latest key features: Client-side field level encryption (GA), ZooKeeper-free Kafka, management for Flink with Control Center, and more.

