Apache Kafka®️ 비용 절감 방법 및 최적의 비용 설계 안내 웨비나 | 자세히 알아보려면 지금 등록하세요
Getting Started with the Confluent Terraform Provider
As part of our recent Q3 Launch for Confluent Cloud we announced the general availability of the Confluent Terraform Provider. HashiCorp Terraform is an Infrastructure as Code tool that lets you define both cloud and on-prem resources in human-readable configuration files that you can version, reuse, and share, using standardized resource management tooling, pipelines, and processes.
The new Confluent Terraform Provider, built in partnership with HashiCorp, allows businesses to:
- Reduce complexity and risk with infrastructure managed as code and deployed through automated GitOps integration
- Increase developer autonomy and productivity with consistent, version-controlled access to data streaming environments, Kafka clusters, private networks, connectors, RBAC, and more
- Integrate Confluent within existing cloud workflows on AWS, Azure, and Google Cloud
Altogether, teams can safely accelerate data streaming initiatives in the cloud with infrastructure management that is fully automated through code and integrated within continuous delivery workflows.

Let’s dive a bit deeper to understand more about this new integration.
What resources are available?
Resources are the most important element in the Terraform language. A Terraform resource describes one or more infrastructure objects, such as an Environment, Kafka Cluster, or API Key. You can manage the following Confluent Cloud resources in Terraform:
- API keys
- Cluster Links
- Connectors
- Environments
- Identity Pools
- Identity Providers
- Kafka ACLs
- Kafka clusters
- Kafka Mirror topics
- Kafka topics
- ksqlDB clusters
- Networks
- Peering connections
- Private Link Access connections
- Role bindings
- Service Accounts
Data sources allow you to load data from APIs or other Terraform workspaces. The Confluent Terraform Provider supports the following data sources:
- Environments
- Identity Pools
- Identity Providers
- Kafka clusters
- Kafka topics
- ksqlDB clusters
- Networks
- Organization
- Peering connections
- Private Link Access connections
- Role bindings
- Service Accounts
- Users
Getting started
Now that you’ve learned a bit about the Confluent Terraform provider, let’s get started and put it to work.
Prerequisites
You’ll need these prerequisites to follow along:
- A Confluent Cloud account. If you don’t have a Confluent Cloud account, create one now.
Create a Cloud API Key and Service Account
- Open the Confluent Cloud Console API Key creation page and select the “Granular access” card, then click “Next”.
- Select the “Create a new one” toggle, then enter the new service account name (tf_runner) and click “Next”.
- The Cloud API key and secret are generated for the tf_runner service account. Save your Cloud API key and secret in a secure location. You will need this API key and secret to use the Confluent Terraform Provider.
- Assign the OrganizationAdmin role to the tf_runner service account by following this guide.

Set up Terraform configuration
Let’s test one of the pre-built sample configurations in the Confluent Terraform Provider Github Repository.
- Clone the Confluent Terraform Provider repository :
git clone https://github.com/confluentinc/terraform-provider-confluent.git
- Change into configurations/standard-kafka-rbac subdirectory:
cd terraform-provider-confluent/examples/configurations/standard-kafka-rbac
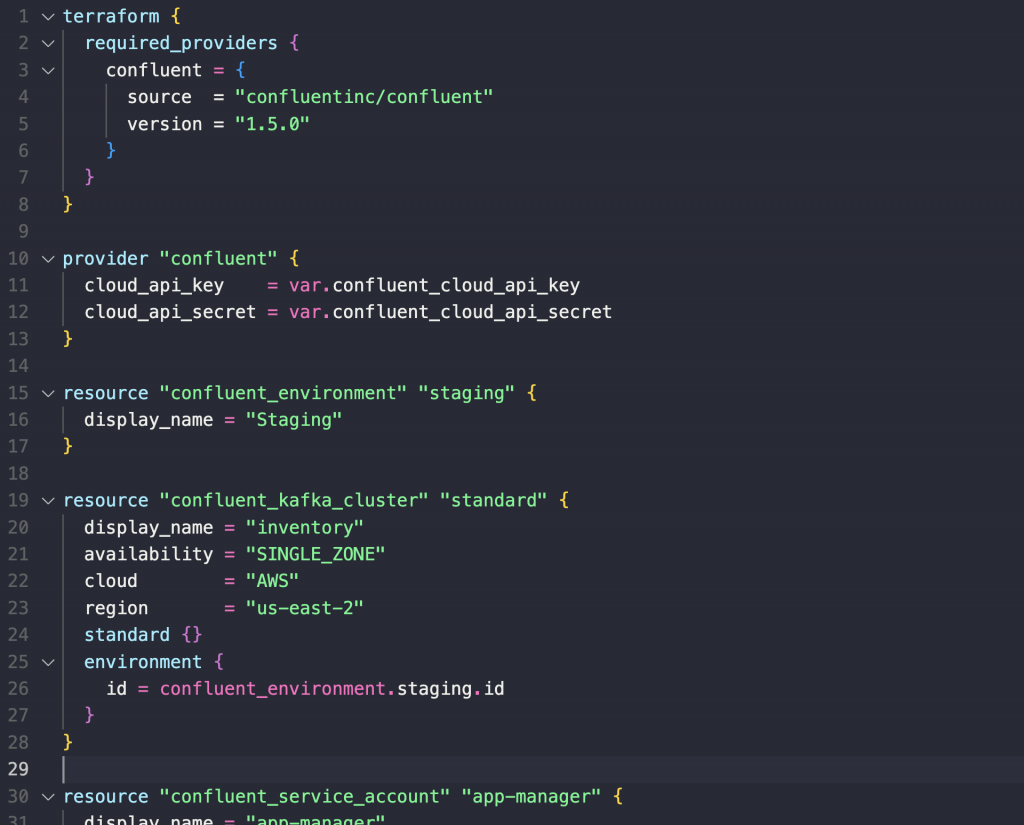
The main.tf file contains Terraform resources that represent the infrastructure we will be building, including an Environment, a Kafka cluster, a Kafka topic, three Service Accounts, two API Keys, and 4 RBAC role bindings.
Create Confluent Cloud infrastructure
Now let’s actually apply the Terraform configurations!
- Download and install the provider defined in the configuration with this command:
terraform init
- Use the saved Cloud API Key of the tf_runner service account to set values to the TF_VAR_confluent_cloud_api_key and TF_VAR_confluent_cloud_api_secret input variables using environment variables:
export TF_VAR_confluent_cloud_api_key="<cloud_api_key>"
export TF_VAR_confluent_cloud_api_secret="<cloud_api_secret>"
#note that “” is required around the values
- Run this command to see a plan of what resources are going to be created:
terraform plan
- Apply the configuration:
terraform apply
#then enter a confirmation:
yes
Test deployment
Let’s make sure everything works as we expect!
- Ensure you’re using the acceptable version of the Confluent CLI v2 by running the following command:
confluent version
Your output should resemble:
... Version: v2.5.1 # any version >= v2.0 is OK ...
- Run the following command to print out generated Confluent CLI v2 commands with the correct resource IDs injected:
# Alternatively, you could also run terraform output -json
resource-ids terraform output resource-ids
Your output should resemble:
# 1. Log in to Confluent Cloud $ confluent login # 2. Produce key-value records to topic '<TOPIC_NAME>' by using <APP-PRODUCER'S NAME>'s Kafka API Key $ confluent kafka topic produce <TOPIC_NAME> --environment <ENVIRONMENT_ID> --cluster <CLUSTER_ID> --api-key "<APP-PRODUCER'S KAFKA API KEY>" --api-secret "<APP-PRODUCER'S KAFKA API SECRET>" # 3. Enter copy and paste each sample record row one at a time, then hit enter: {"number":1,"date":18500,"shipping_address":"899 W Evelyn Ave, Mountain View, CA 94041, USA","cost":15.00} {"number":2,"date":18501,"shipping_address":"1 Bedford St, London WC2E 9HG, United Kingdom","cost":5.00} {"number":3,"date":18502,"shipping_address":"3307 Northland Dr Suite 400, Austin, TX 78731, USA","cost":10.00} # press 'Ctrl-C' to kill the producer and return to your terminal prompt # 4. Consume records from topic '<TOPIC_NAME>' by using <APP-CONSUMER'S NAME>'s Kafka API Key $ confluent kafka topic consume --from-beginning --environment <ENVIRONMENT_ID> --cluster <CLUSTER_ID> --api-key "<APP-CONSUMER'S KAFKA API KEY>" --api-secret "<APP-CONSUMER'S KAFKA API SECRET>" # When you are done, press 'Ctrl-C'. # Note that values surrounded by <> will be dynamically updated for your specific deployment. - Execute the printed out commands.
Clean up deployment
Run the following command to destroy all the resources you created:
terraform destroy
This command destroys all the resources specified in your Terraform state. terraform destroy doesn’t destroy resources running elsewhere that aren’t managed by the current Terraform project.
What’s next?
We will continue to invest in Terraform to help our customers reduce complexity, risk, and time-to-market for data streaming infrastructure deployments. Look for new resources, data sources, bug fixes, and optimizations by following the Confluent Terraform Provider changelog on Github.
If you haven’t done so already, sign up for a free trial of Confluent Cloud, our cloud-native data streaming platform built by the founders of Apache Kafka®. New sign ups receive $400 to spend within Confluent Cloud during their first 30 days. Use the code CL60BLOG for an additional $60 of free usage. Once you’ve created an account you can then try out our Terraform Sample Project guide yourself!
Please reach out to our team with any questions or requests by email at: cflt-tf-access@confluent.io, or on the Confluent Community slack #terraform channel.
Additional Resources
이 블로그 게시물이 마음에 드셨나요? 지금 공유해 주세요.
Confluent 블로그 구독


Customer Intelligence Hub: A Single Pane of Glass for Customer Insight and Action
Customer Intelligence Hub unifies customer signals into a real-time, AI-powered view that helps GTM teams prioritize risk, identify opportunity, and act faster with contextual insights.