Apache Kafka®️ 비용 절감 방법 및 최적의 비용 설계 안내 웨비나 | 자세히 알아보려면 지금 등록하세요
Webify Event Streams Using the Kafka Connect HTTP Sink Connector
The goal of this post is to illustrate PUSH to web from Apache Kafka® with a hands-on example. Our business users are always wanting their data faster so they can take action faster—pushing it as the event happens, rather than running it through a data pipeline first, then running the analytics process on it, and asking for the data.
There are two ways to get your updated data more quickly in your web applications:
- Poll the data source more frequently
- Push the data to the user
Frontends are still largely tooled for the first option, which requires all the moving parts that lead up to preparing the data for analytics to be orchestrated properly and without failure, in an incremental fashion.
Let’s go!
In summary, we will:
- Understand what the pipeline will look like
- Download and get Confluent Platform running
- Load and run the Kafka Connect HTTP Sink Connector
- Run the Node.js service
- Test our pipeline!
Here’s what you’ll need before you proceed:
- JRE > v1.8
- Node.js > v10 & NPM > v5.0
By the end of this tutorial, you will have an architecture that looks even more simple than this diagram:
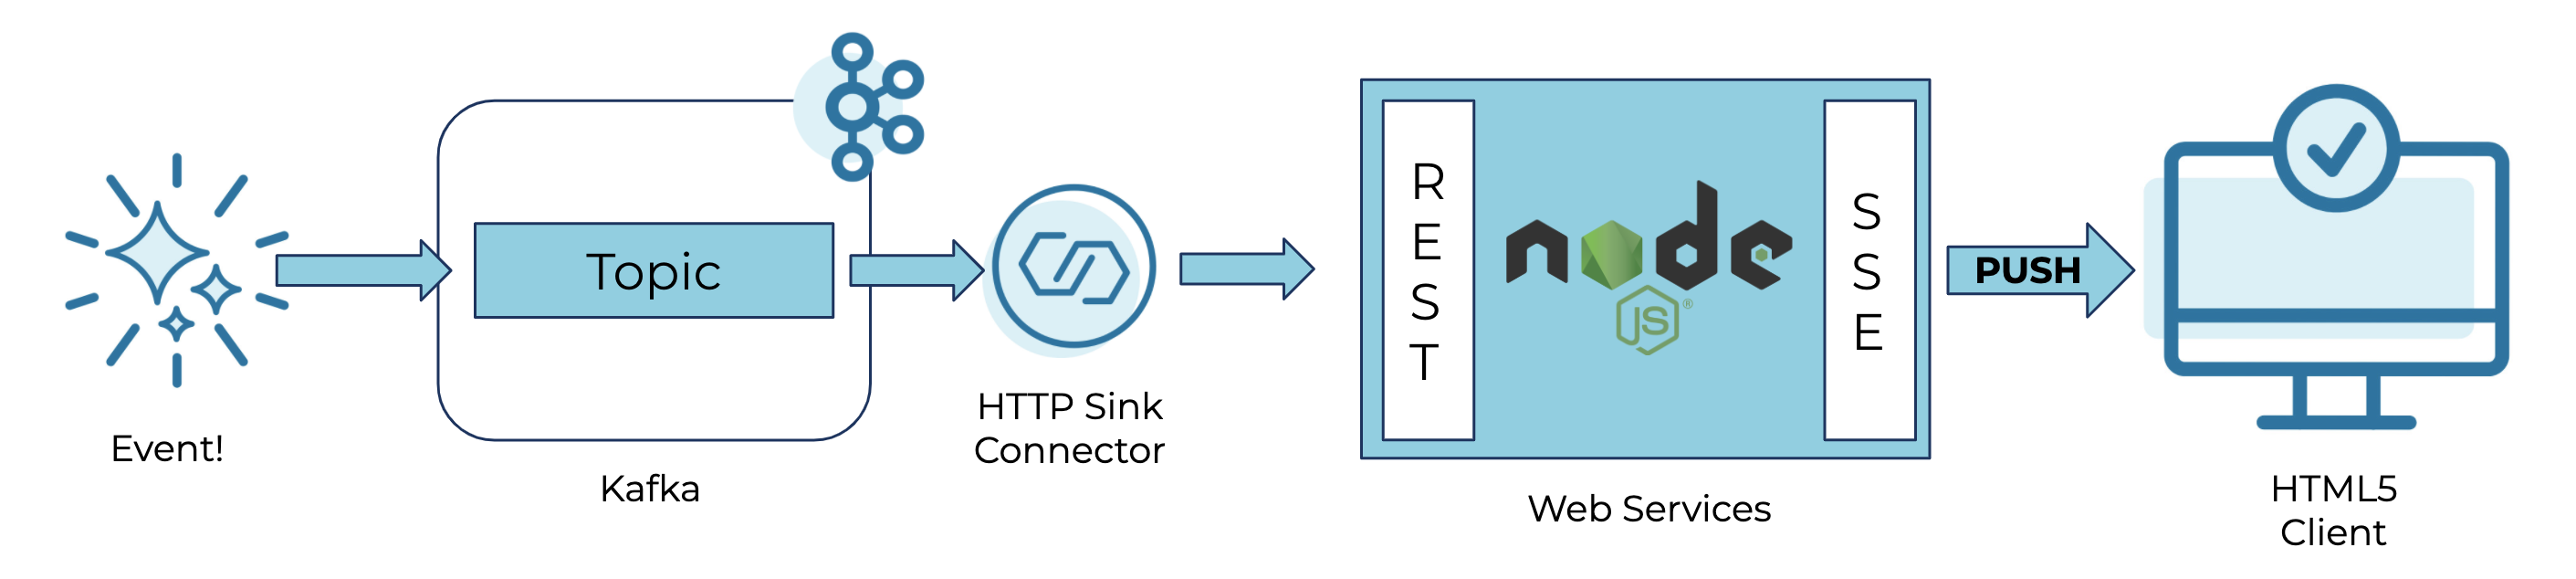
Implementing the above architecture is actually very simple—just 27 lines of JavaScript, and for the purposes of this demo, you can run it with a single-node cluster, stood up with a one-liner using the Confluent CLI.
Download and run the Confluent Platform
Download the Confluent Platform as a tar file, and extract it to a directory of your choice. I’m going to use ~/confluent-platform, extract the tarball, and enter the extracted directory.
Set the CONFLUENT_HOME environment variable to the directory you’ve extracted Confluent Platform to, and update your PATH variable based on this too:
export CONFLUENT_HOME=~/confluent-platform
export PATH=$PATH:$CONFLUENT_HOME/bin
Get the Confluent CLI executable, and drop it in the bin directory:
curl -L --http1.1 https://cnfl.io/cli | sh -s -- -b $CONFLUENT_HOME/bin/
Set up the HTTP sink connector
Let’s install the HTTP sink connector using the handy confluent-hub command:
confluent-hub install confluentinc/kafka-connect-http:latest
To create the connector, we first need to define the configuration. Create the following as a file called http-sink.json:
{
  "name": "HttpSink",
  "config": {
    "topics": "testAlertsSSE",
    "tasks.max": "1",
    "connector.class": "io.confluent.connect.http.HttpSinkConnector",
    "http.api.url": "http://localhost:3344/receiveData",
    "key.converter": "org.apache.kafka.connect.storage.StringConverter",
    "header.converter": "org.apache.kafka.connect.storage.StringConverter",
    "value.converter": "org.apache.kafka.connect.storage.StringConverter",
    "confluent.topic.bootstrap.servers": "localhost:9092",
    "confluent.topic.replication.factor": "1",
    "reporter.bootstrap.servers": "localhost:9092",
    "reporter.error.topic.replication.factor": "1",
    "reporter.result.topic.replication.factor": "1"
  }
}
Now load the connector using that file:
confluent local load httpsink -- -d http-sink.json
Start the cluster
Enter the following command: confluent local start.
Once the local cluster starts, you’ll be able to verify that the sink connector is started.
- Visit the control center in your browser at http://localhost:9021, and click “Connect.”
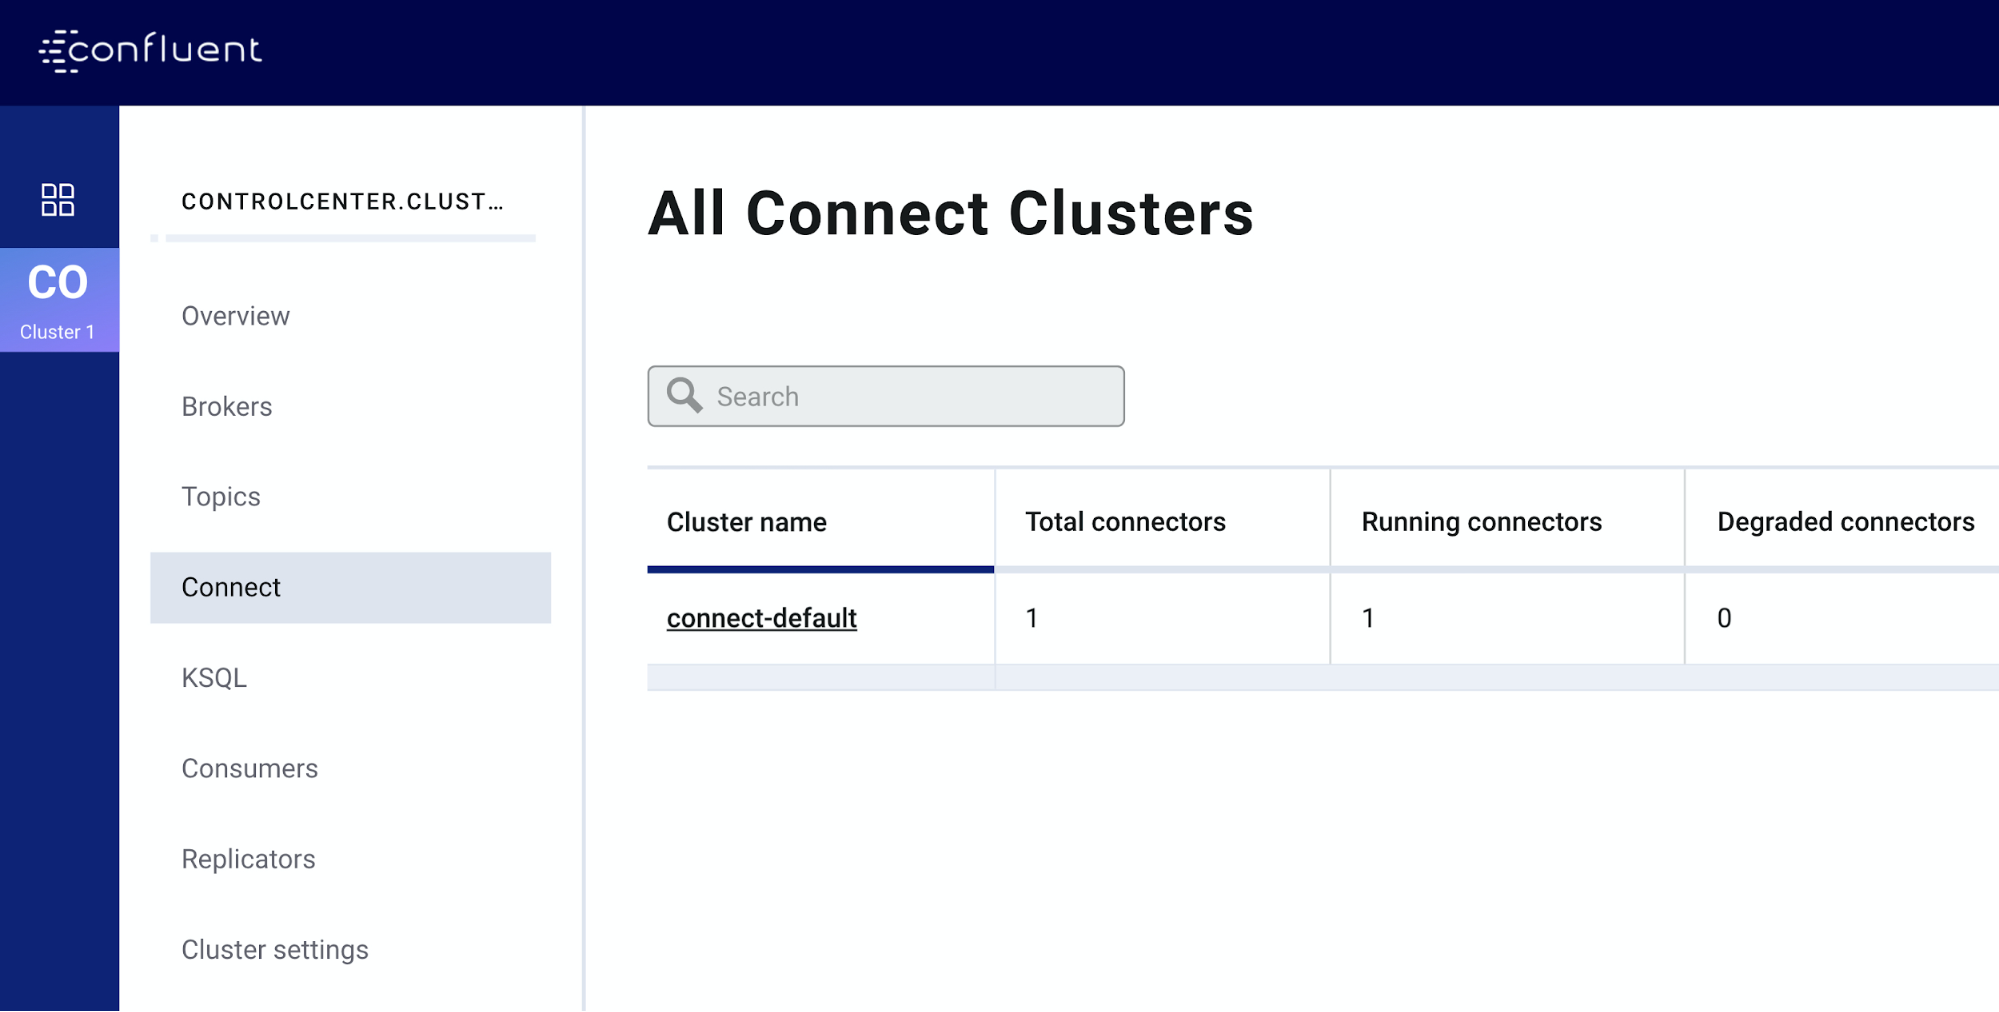
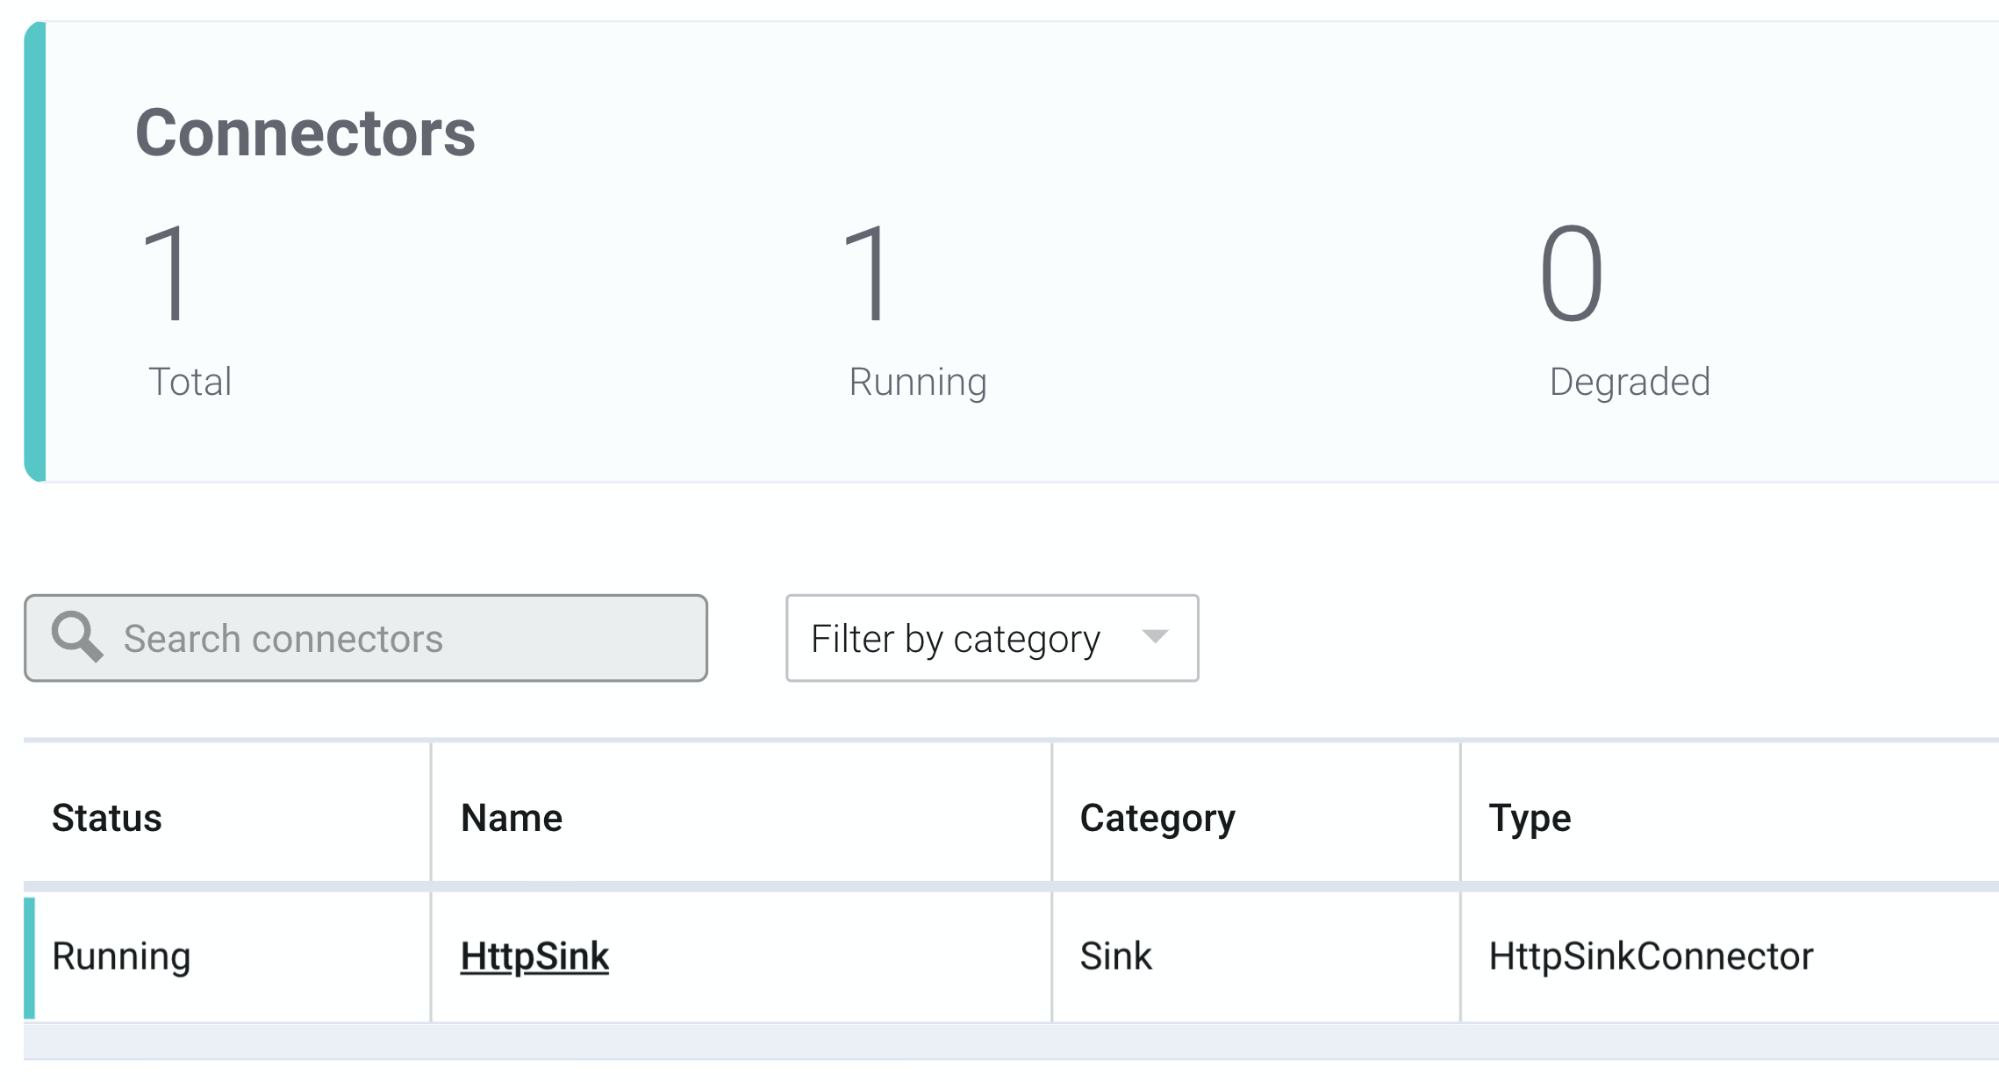
- Then, click connect-default. You will land on the status page for the loaded connectors and see HttpSink. We want to see that the status is “Running” (not “Degraded” or “Failed”).
Up to this point, it’s simply been setup and verification. Let’s move on to where it gets real!
Set up the Node.js web service
I’ve written an example web service that listens for REST connections from the HTTP sink connector created above and forwards them as Server-Sent Events (SSE) to our frontend. To run it, follow these steps:
- Pull down the project from GitHub:
git clone https://github.com/derplarsen/testAlertsSSE.git
- Enter the directory that you just pulled down:
cd testAlertsSSE
- Install the necessary Node.js packages:
npm install
- Start the Node.js web service:
npm start
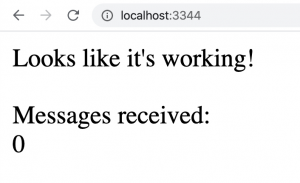
Now that it’s running, let’s visit http://localhost:3344 in a modern browser. All being well, this is what the browser should look like:
Split the screen between the browser and terminal so that you can see the alerts sent to Kafka.
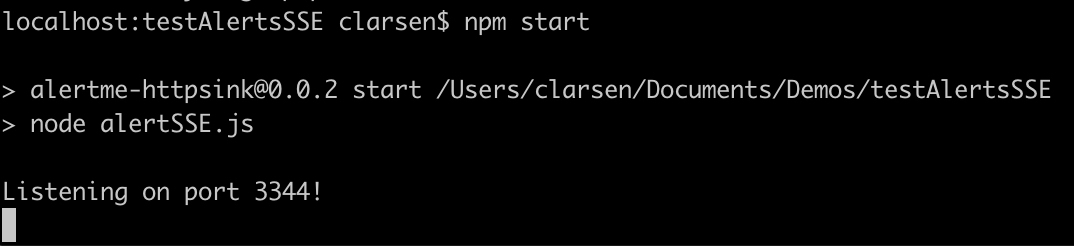
Also keep the terminal that you started npm start with visible. It should look like this:
Let’s now run a curl command to make sure the REST endpoint and SSE are working as expected. Open a new terminal, and run the following:
curl -X POST -d testme http://localhost:3344/receiveData -H "Content-Type: text/plain"
You should see a line in your Node.js terminal (where npm start was run) that reads req.body: testme. You should also see the message displayed in the web browser.

We’re now ready for the final step!
Test the end-to-end pipeline
Now that we have tested that the Node.js application works, let’s produce a message into the Kafka topic testAlertsSSE, which the HTTP sink connector is connected to, in order to translate a Kafka message to a browser alert. Run the following command:
confluent local produce testAlertsSSE
You should see a cursor that is ready to accept input.

Type some text into the console while you’re looking at the web browser. When looking at your web browser at http://localhost:3344, you should see an alert pop up with the text you typed. You’ll also see that the messages received increment.

Next steps
Congratulations! We just created an event-driven alerting system for Confluent Platform and JavaScript users. Now that the basics are done, you can:
- Edit the javascript in alertSSE.js by adding another endpoint to treat the messages being sent as JSON, then parse them out for different event types from the same topic.
- Use ksqlDB to create a windowed aggregation that avoids flooding the browser with too much activity. Leveraging kafka-producer-perf-test, you can send 200 events per second using a sample JSON file as the data source, have ksqlDB average one of the fields on a five-second window, and push the resulting data into a topic as the source of SSE to the browser.
- Create a truly non-polling, event-driven data visualization with the Chart.js event streaming plugin
이 블로그 게시물이 마음에 드셨나요? 지금 공유해 주세요.
Confluent 블로그 구독


